

By Michael Gugino
In this guide I will show you how you can change registry values yourself, and how to track down a program/service that is changing a registry value. This can be very helpful in instances where you attempt to change a registry value (such as disabling DES), but when you look back at the registry after a reboot the key in question has been changed back to what it originally had been.
Note: This guide will specifically be for Windows 10, but the methodology is very similar for other Windows versions.
Open The Windows Registry
- Click on the windows start button and type run into the search bar then press Enter.
- In the run prompt type regedit and press enter.
- If prompted by User Account Control about whether or not you want to run Registry Editor click yes.

Registry Navigation
When navigating the registry, you will most likely have a path specified that you are attempting to navigate to such as:
Computer\HKEY_LOCAL_MACHINE\SYSTEM\CurrentControlSet\Control\BitLocker\RecoveryPasswordRotation
Backslashes in the registry path (as is normally the case with windows) represent different folders in the registry. A backslash means that an item/folder after the backslash is contained within the folder before the backslash. You can find the path to the folder that you have highlighted in the registry by looking directly below the Menu bar (the bar that contains options such as “File” and “Edit”).

So you have changed the key and everything is perfect! … or is it?
Let’s say that you originally wanted to change the registry because you are a security specialist for a great company, and your company’s vulnerability scanner says that your machine is insecure and open to a Sweet32 attack. Oh no! Thankfully you are a security specialist, and with your extensive knowledge of security (and a little bit of googling) you have come to the conclusion that the Sweet32 attack is only possible if you are using weak cryptographic algorithms such as DES or 3DES, and all you need to do to fix this vulnerability is to disable those weak cryptographic algorithm at the registry level. Easy enough, you have already read through the beginning part of this guide, and you were able to open the registry and navigate to the place containing DES, and you set it from 0xffffffff to 0x0. After a job well done you turn off your computer and head home for the night. The next morning you come into work and look at the results from the vulnerability scanner that ran last night, but what’s this? It says you are still vulnerable to the Sweet32 attack! You go to check the registry, and sure enough the registry has been changed back to 0xffffffff! Feeling peeved that your computer undid your fantastic work of changing that registry key you have decided to try to track down what is changing the registry key!
Enable Registry Auditing
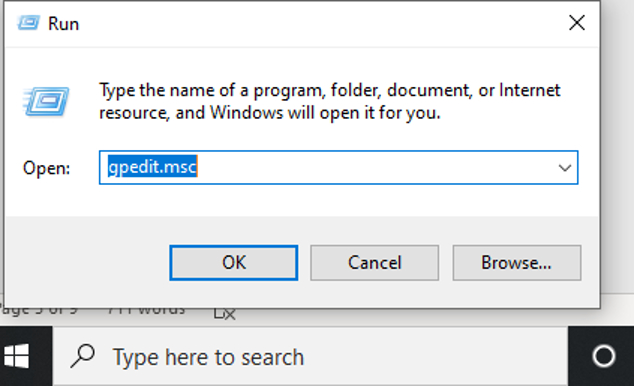
- In the windows search bar type run and press enter.
- In the run box type gpedit.msc and press enter.
- Navigate to the folder Group Policy\Computer Configuration\Windows Settings\Security Settings\Local Policies\Audit Policy and double click on Audit object access.

- Check the boxes of both Success and Failure, then select Apply and OK.

With auditing now enabled on your system, it’s time to set up the auditing rules for the registry keys!
Configure The Registry Auditing
- Navigate to the registry key that you are trying to change (and keep changed).

- Right click on the folder, and select the Permissions… option, then select Advanced.

- Move to the Auditing tab at the top and click on the Add button in the bottom left.

- Click on Select Principal and type in Everyone, then change the Type to All, make sure the Applies to section is set to This key and subkeys, add Read to the basic permissions, and finally click OK.

- Make sure you apply the audit entry, and then hit OK and get back to the registry.
Now that the auditing has been set up you have to change the registry key you are tracking to something other than what it was automatically set to. This is to make sure that whatever is changing your key will change it again. After that you must wait until the registry key changes again, or you can attempt to prompt it to change. The most effective way to do that is to restart your system. If that does not work then just waiting and checking every so often is your best bet.
Determining What Is Changing Your Key
When the value of the key has been changed to the bad value it is time to track down the culprit!
- Press the Windows Button, enter Event Viewer, and press enter.
- Navigate to Event Viewer (Local)\Windows Logs\Security.
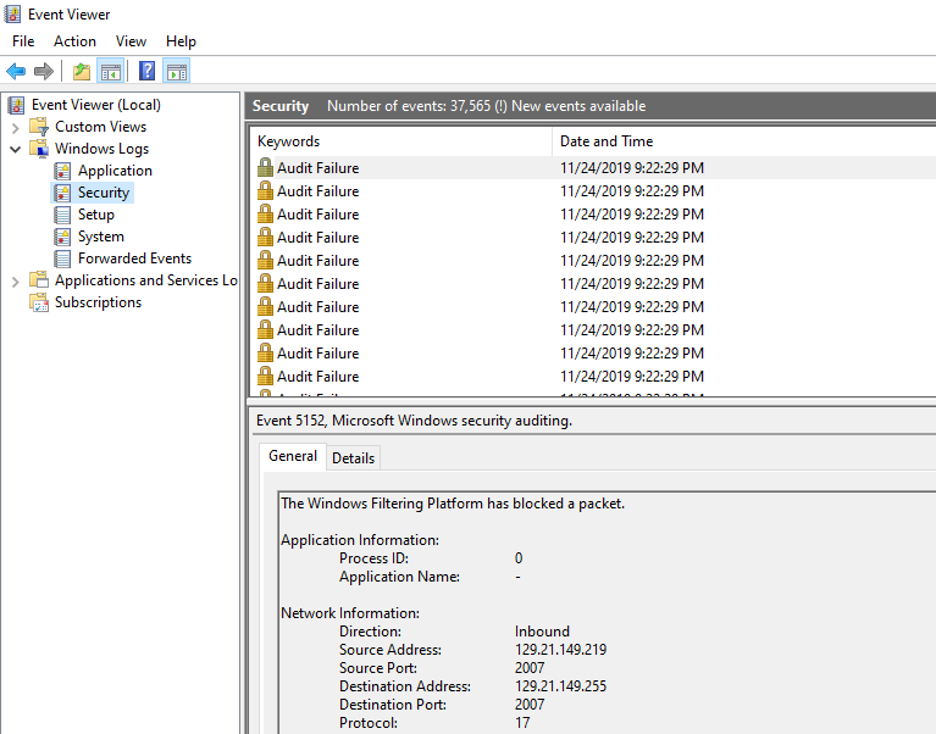
- Your best bet is to sort by Task Category and navigate down to the Registry category.
- In the information pane below find the Object Name that matches the path to the key you are monitoring.


At this point there are a large variety of directions that you could be taken. It is important to look at the Process Information category, and to take note of the information there. If the information available isn’t very verbose you can track down the process by taking note of the Process ID, then going to the command prompt and entering the command tasklist /v /svc. That will allow you to view all the process ID’s on your computer and match them with their services.
In this instance I see that there is some type of PowerShell script running that is changing the registry keys on my computer, how rude! Windows actually has a specific log for PowerShell called Event Viewer (Local)\Applications and Services Logs\Windows PowerShell. Once I am in there, I match the time from the previous log to this one to find the entry that is related to my problem. Looking in there I can see the directory that the PowerShell script is running from

After navigating there I found a script called UnSecure-IIS.ps1 that I certainly had nothing to do with, which I dealt with.

Now you and I can freely change our registries!
